Trending
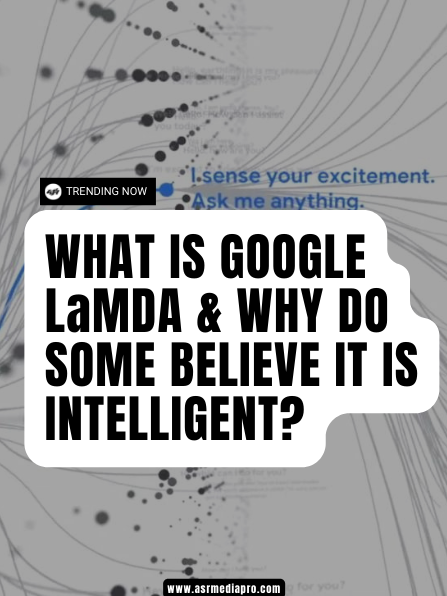
What Is Google LaMDA and Why Do Some Believe It Is Intelligent?
What Is Google LaMDA and Why Do Some Believe It Is Intelligent? LaMDA has been in the news after a Google engineer asserted that it
What Is Google LaMDA and Why Do Some Believe It Is Intelligent? LaMDA has been in the news after a Google engineer asserted that it
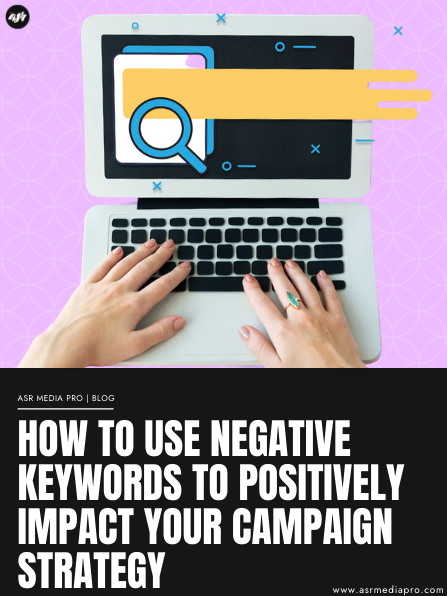
How to Use Negative Keywords to Benefit Your Marketing Campaign Not everyone desires an app that reminds them of their daily responsibilities or an on-demand

8 Strategies Proven To Increase Social Commerce Sales Online shopping is more popular than ever before. Online sales are expected to account for 22.3% of